How to Convert TIFF to JPEG
Converting TIFF documents into JPEG format is important when there is a necessity to make the TIFF files handier. For example, without converting TIFF to JPEG it’s impossible to upload them to the web or to send by email due to the size of their files.
Unfortunately, simply by changing file extension from “my document.tif” to “my document.jpg” is not enough to convert a TIFF file to the JPEG image format. Special software Universal Document Converter will will help complete this task.
Please follow this manual to convert TIFF to JPEG
Download and install Universal Document Converter software onto your computer.
Open your TIFF document.
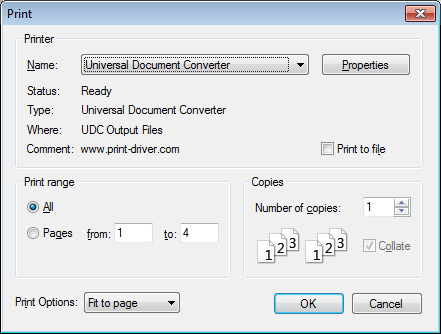
Press File > Print… in the program menu or Ctrl+P to open the print dialog window.
Select Universal Document Converter from the list of printers and click the Properties button.
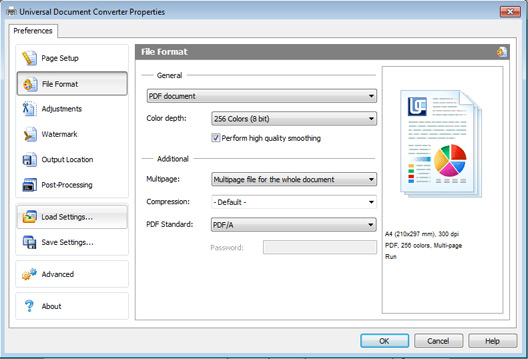
Click Load Settings… in the Universal Document Converter Properties window
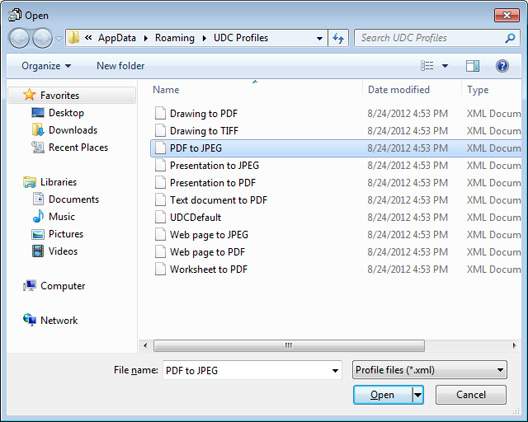
And select PDF to JPEG profile.
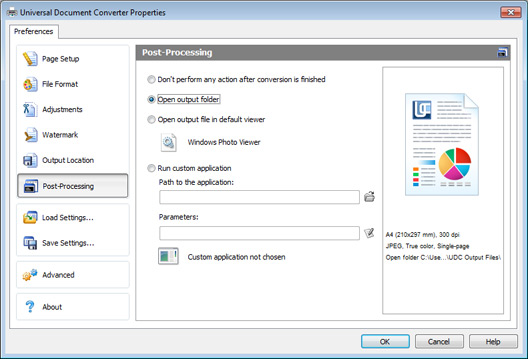
Click Post-Processing and select Open output folder feature.
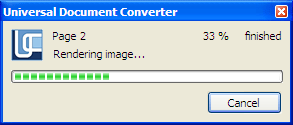
Click OK in Universal Document Converter Properties window and in the print dialog window. Converting will begin.
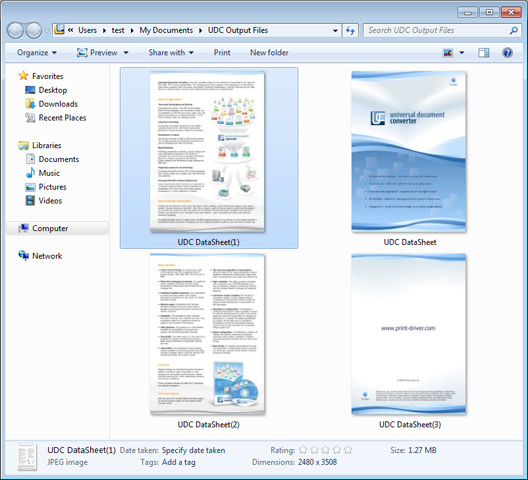
Converted JPEG files will be saved to the folder you’ve selected.
Related conversion tutorials:
-

Elizabeth Kotaeva
Copywriter from Russia
«At the present moment, I can already say that the use of Universal Document Converter has raised the return on orders that were not paid for in advance by approximately 30%!»