Terminal Services
Terminal Services technology enables each employee to get the personal desktop and user area on server and connect it to his or her working area via the Internet. This feature ensures secure and stable process, because the server carefully stores the data protecting it from environmental effects, theft, or third-party interference.
Terminal Services lets the employees use any programs they need, including Universal Document Converter.
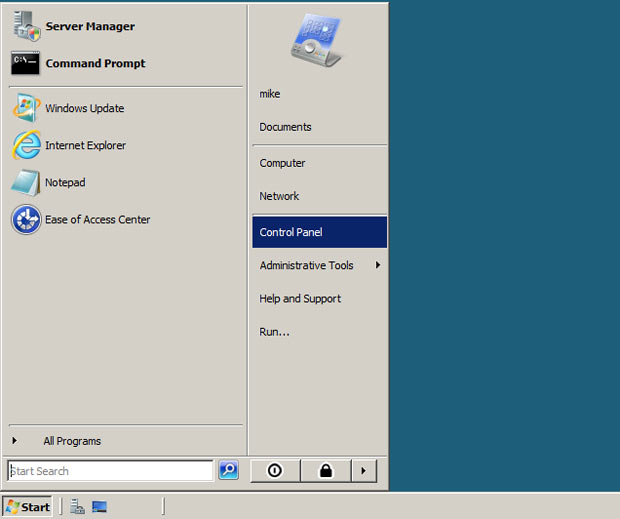
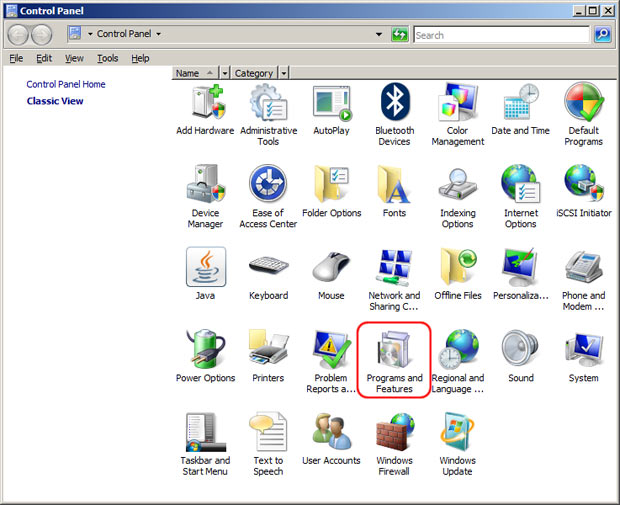
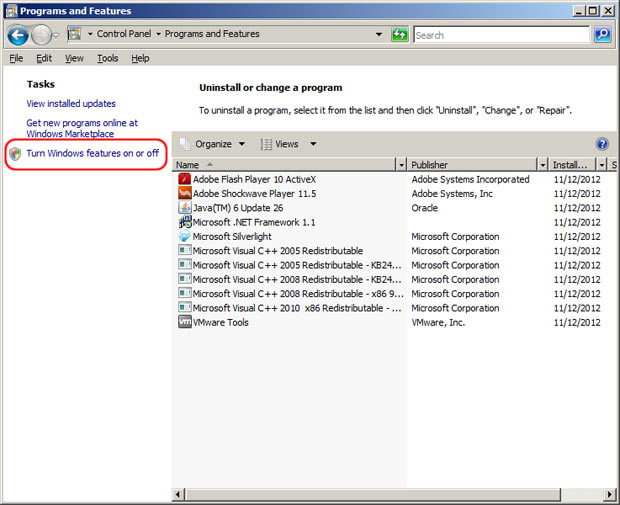
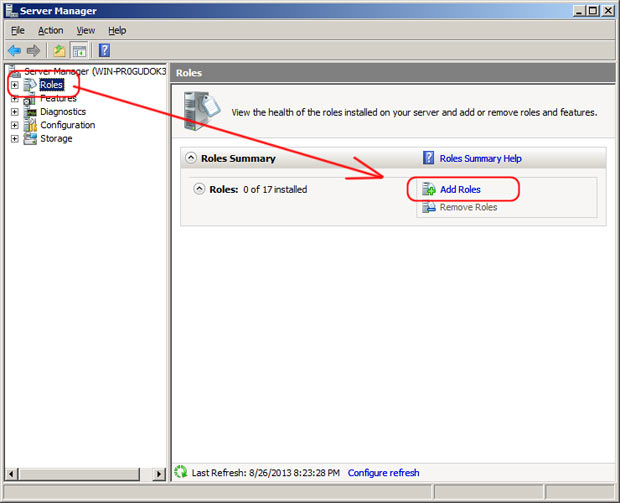
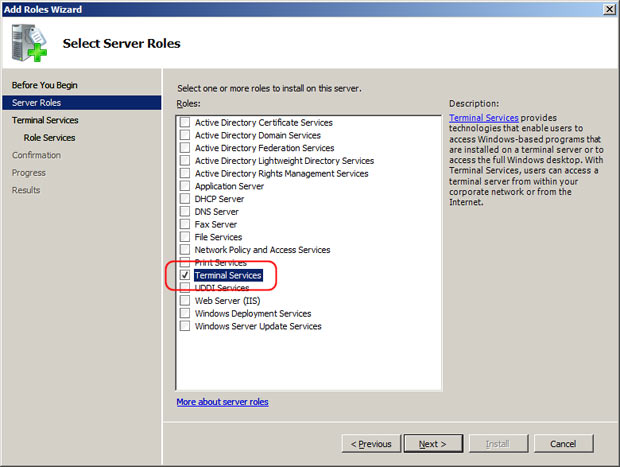
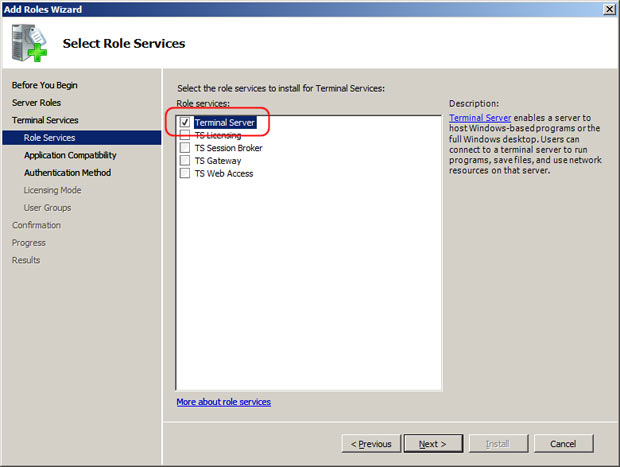
Enable Terminal Services on the server

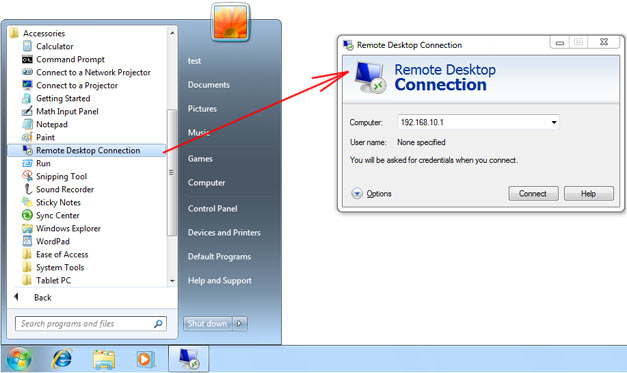
Start the remote desktop session
On the client computer go to Start menu, click All Programs, check Accessories and click Remote Desctop Connection. Enter host computer IP address and start the session.
-

Kathleen Dodge-DeHaven
Organist and Choir Director in St Augustine and St Mary Catholic Churches
«Universal Document Converter is simple to use, and customer support is excellent: should you need to contact them, you can expect a prompt, courteous, and informed reply. I highly recommend this excellent program!»