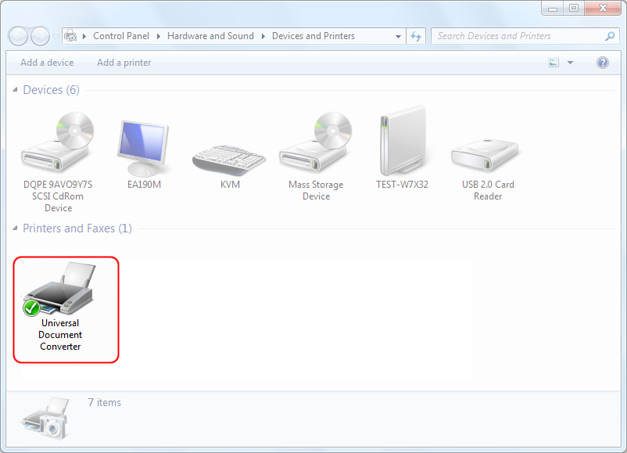
Universal Document Converter
Product Overview
Download
Purchase
Tutorials
Developer Solutions
Support Service
About fCoder Group


      Site search


      Video tutorial
Show tutorial


Main page>Online help>Installing Universal Document Converter>Installing

Installing Universal Document Converter Software


Download the latest version of the Universal Document Converter from the official web site and run it. Then, perform the following steps.

Step 1. A dialog with a drop-down list will be displayed prompting for the language to be used during the install (Russian, English, German). Select the desired option and click OK.

Step 2. This will display a window with the prompt: This program will install the full/demo version of the Universal Document Converter 5.0 on your computer. Proceed? Click Yes to start the installation process.

Step 3. If you are installing the full version of the Universal Document Converter, a window with a single field will be displayed. Use it to enter the registration key provided at purchase and click OK.

Step 4. Read the summary of the initiated installation process and click Next to continue or Cancel to exit the installation.

Step 5. Read the License Agreement and accept it (check "I accept the terms of the agreement"). Click Next to proceed to the next step.

Step 6. Select the installation folder or keep the default. If a directory with that name already exists, the program will warn you and ask whether the installation should be continued or whether a different folder should be selected. The best option is to accept all the default settings unchanged. Click Next to proceed to the next step and wait for files to be copied.

Step 7. Check or uncheck Set as Default Printer and Play Video Presentation. Then, click Finish to complete the installation process.

See also:


© 2001-2012 fCoder Group, Inc. About fCoder Group | Privacy Policy | Site Map